Learn in a Series of Videos on 3D Printing Tuning and Calibration
3D Printer Tuning & Calibration Learning Video 1
Content and Timestamps
- 0:00 Introduction
- 0:17 Overview
- 2:07 Structure and warnings
- 2:46 Frame check
- 3:35 PID autotune
- 4:36 Baseline print
- 7:02 E-steps
- 8:23 Slicer flow rate
- 9:51 Stepper motor driver current
- 11:09 Retraction
- 13:25 Temperature
- 14:32 Acceleration and jerk/junction deviation
- 17:18 Linear advance
- 18:28 Summary
3D Printer Tuning & Calibration Learning Video 2
Contents of the Video
- 0:00 – Intro
- 0:25 – The Part and Its Purpose
- 3:14 – Starting the Tuning Process
- 8:14 – Advanced Tuning
- 11:22 – The Settings to Tune
- 12:16 – End
3D Printing is a far more complex and involved process, especially for high-temperature applications with advanced materials. When you move on from PLA to industrial, high-performance materials such as ABS, Nylon, PEEK or PEI, you’re entering a category of functional materials that require more time and attention to get the perfect part you desire. This is because higher-grade materials melt and adhere at specific temperatures under the right conditions, and those temperatures are generally much higher than normal — in the 400ºC (850ºF) range.
The essentially makes for a smaller window of processing, with shorter tolerances and more finicky material behaviour. The tough reality is that there are no universal settings, as each machine will require a different setting to fit different part geometries, different material types, even different geographic regions. Even in the instance of PLA, two different filament rolls of PLA can differ on age, brand, and moisture. When you move onto higher-temperature plastics like PEEK or PEI, this disparity increases.
In this video, learn the basics of tuning, i.e. getting your printer to get as close to those ideal conditions as possible to get the perfect part. Its recommended to start by tuning for the specific material as each is going to have a different melting point, ideal bed temperature, printing speed, etc.
To tune for the material, we follow the five-step tuning process, and it starts with establishing a baseline. Getting your material’s baseline means finding out the recommended head temperature, bed temperature, and printing speed. These can be found either online via our website, the manufacturer’s website, or even on the material roll.
1. Input your baseline settings into a slicer program of your choice.
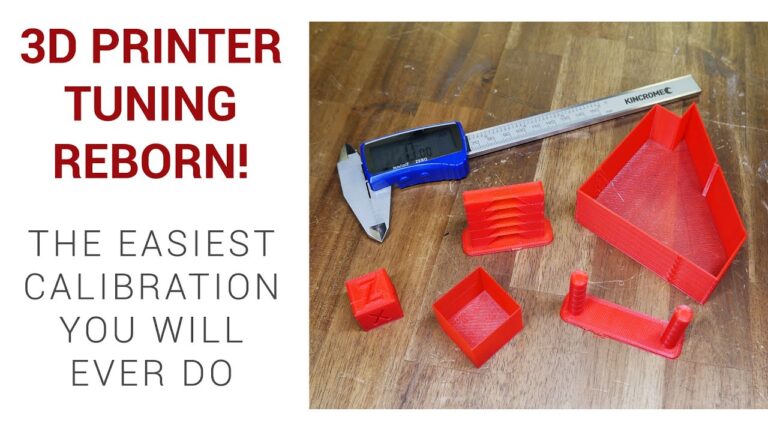
2. Select a small test print that gives you results in a short amount of time. In the past, we’ve used simple cubes, string-tower tests, and overhang tests to see how our material is impacted by different part geometries.
3. Simply examine your part. What you will want to look for is layer adhesion, especially for higher-temperature materials.
You can examine layer adhesion by close-up visual inspection, bending/flexing, and snap tests. These let you see if layers are fusing properly. Feel free to look for gaps, holes, and blobs as well to evaluate aesthetic features and as structural properties. Most of the time, you can research using online guides to address specific issues you see with your test part. After you’ve examined what you want to change, you can move on to adjusting your settings.
The final step in the tuning process is to repeat steps 1 through 4 until you’re satisfied with the quality and strength of your calibration part. This process is highly iterative and relies on your ability to make changes to each run-through until you reach a place where your machine will print the real part with ease. Part complexity and material choice will normally affect how many times you will need to adjust your calibrations.
Once you have completed the tuning process, your printer should be dialled in for the material with which you tested. Now, you can go and print almost anything. On occasion, you will need to go more complex for more complex geometries, but the tuning process will give you the foundational settings needed for your specific printer, part, and location. Keep in mind: if you change your material, your temperatures, or your surrounding environment, you will most likely need to re-tune.
Vision Miner


